
Corporate Event, Meeting, & Conference Headshot Booth Planning
Planning an on-location headshot session at a corporate event, meeting, or conference can be a game-changer for attendees, offering them a professional image update without needing to leave the venue. As a meeting planner, your role is crucial in ensuring the process is seamless and successful. Here are some tips to help you plan the perfect on-location headshot booth.
1. Select an Ideal Location
Choosing the right spot for the headshot booth is essential. Look for a location that:
Has ample height and space: Areas with high ceilings and ample space are best and will allow the photographer to freely position lights and reflectors in order to achieve the best results for your organization. A minimum of 12'x12' with >9' height is preferred. We can shoot in smaller areas, however the position of the lighting may require compromising.
- Is easily accessible: The booth should be in a high-traffic area to encourage participation but not so central that it disrupts the flow of the event.
- Offers privacy: Attendees will feel more comfortable if the area is somewhat private. Consider using partitions, pipe & drape, or a separate room, if possible. Separate rooms with signage outside the door is the best option. Don't have signage? We can provide our own signage white-labelled for your event.
2. Plan the Schedule
Timing is everything. Plan the headshot sessions around the event schedule to maximize participation:
- Avoid peak session times: Schedule the booth during breaks, before the event starts, or after sessions end to avoid conflicting with key activities.
- Offer flexible time slots: Allow attendees to sign up for specific time slots to avoid long lines and wait times. We can handle custom scheduling for your VIPs or for all your attendees.
3. Choose the Right Background
The background of the headshots can significantly impact their quality and professionalism: Colors like white or grey are versatile and professional. We can provide white or nearly any shade of grey.
4. Coordinate with the Photographer
Work closely with the photographer to ensure everything runs smoothly:
- Discuss expectations: Clearly communicate the event schedule, the number of expected participants, and any specific requirements.
- Test the setup: Arrange a test session to ensure the lighting and background work well and to address any technical issues before the event.
5. Promote the Headshot Booth
Make sure attendees know about the headshot booth and encourage them to participate:
- Pre-event communication: Include information about the headshot booth in pre-event emails, on the event website, and in the event app. We can even provide you with a QR code for attendees to pre-register before the event. This will expedite the flow of the headshot booth, allowing us to shoot more of your participants.
- On-site signage: Use clear and attractive signage at the event to guide attendees to the headshot booth.
.avif)

.avif)


%201-WebResolution-retouched.avif)

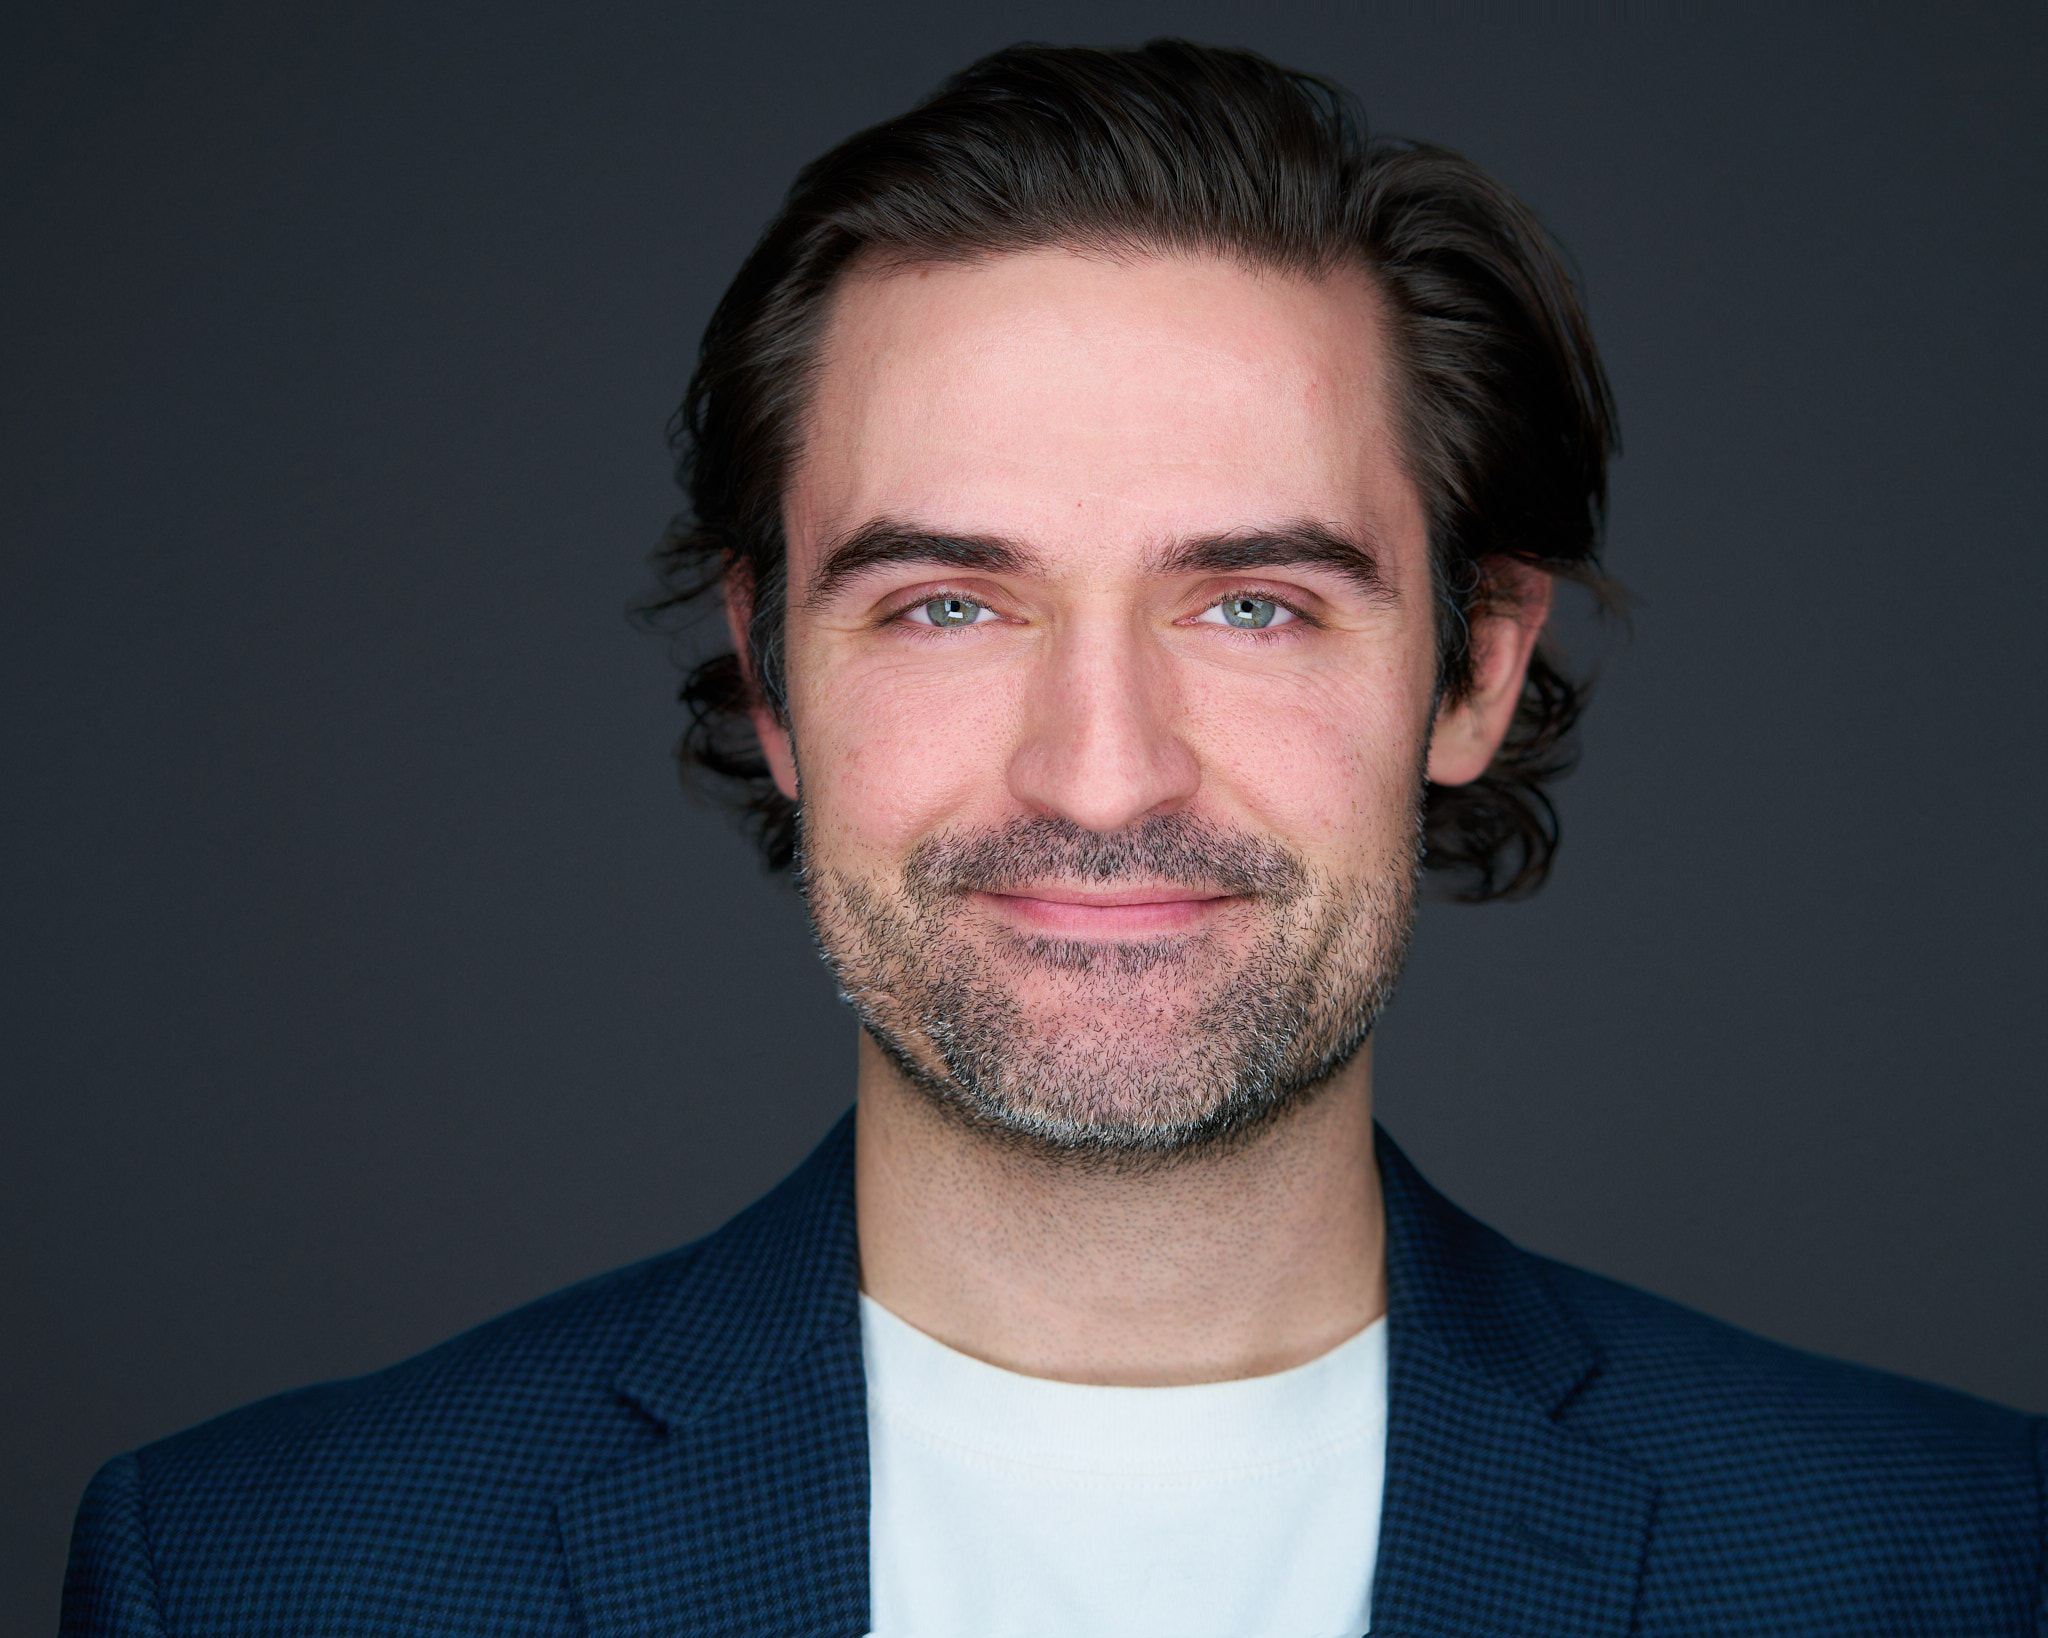
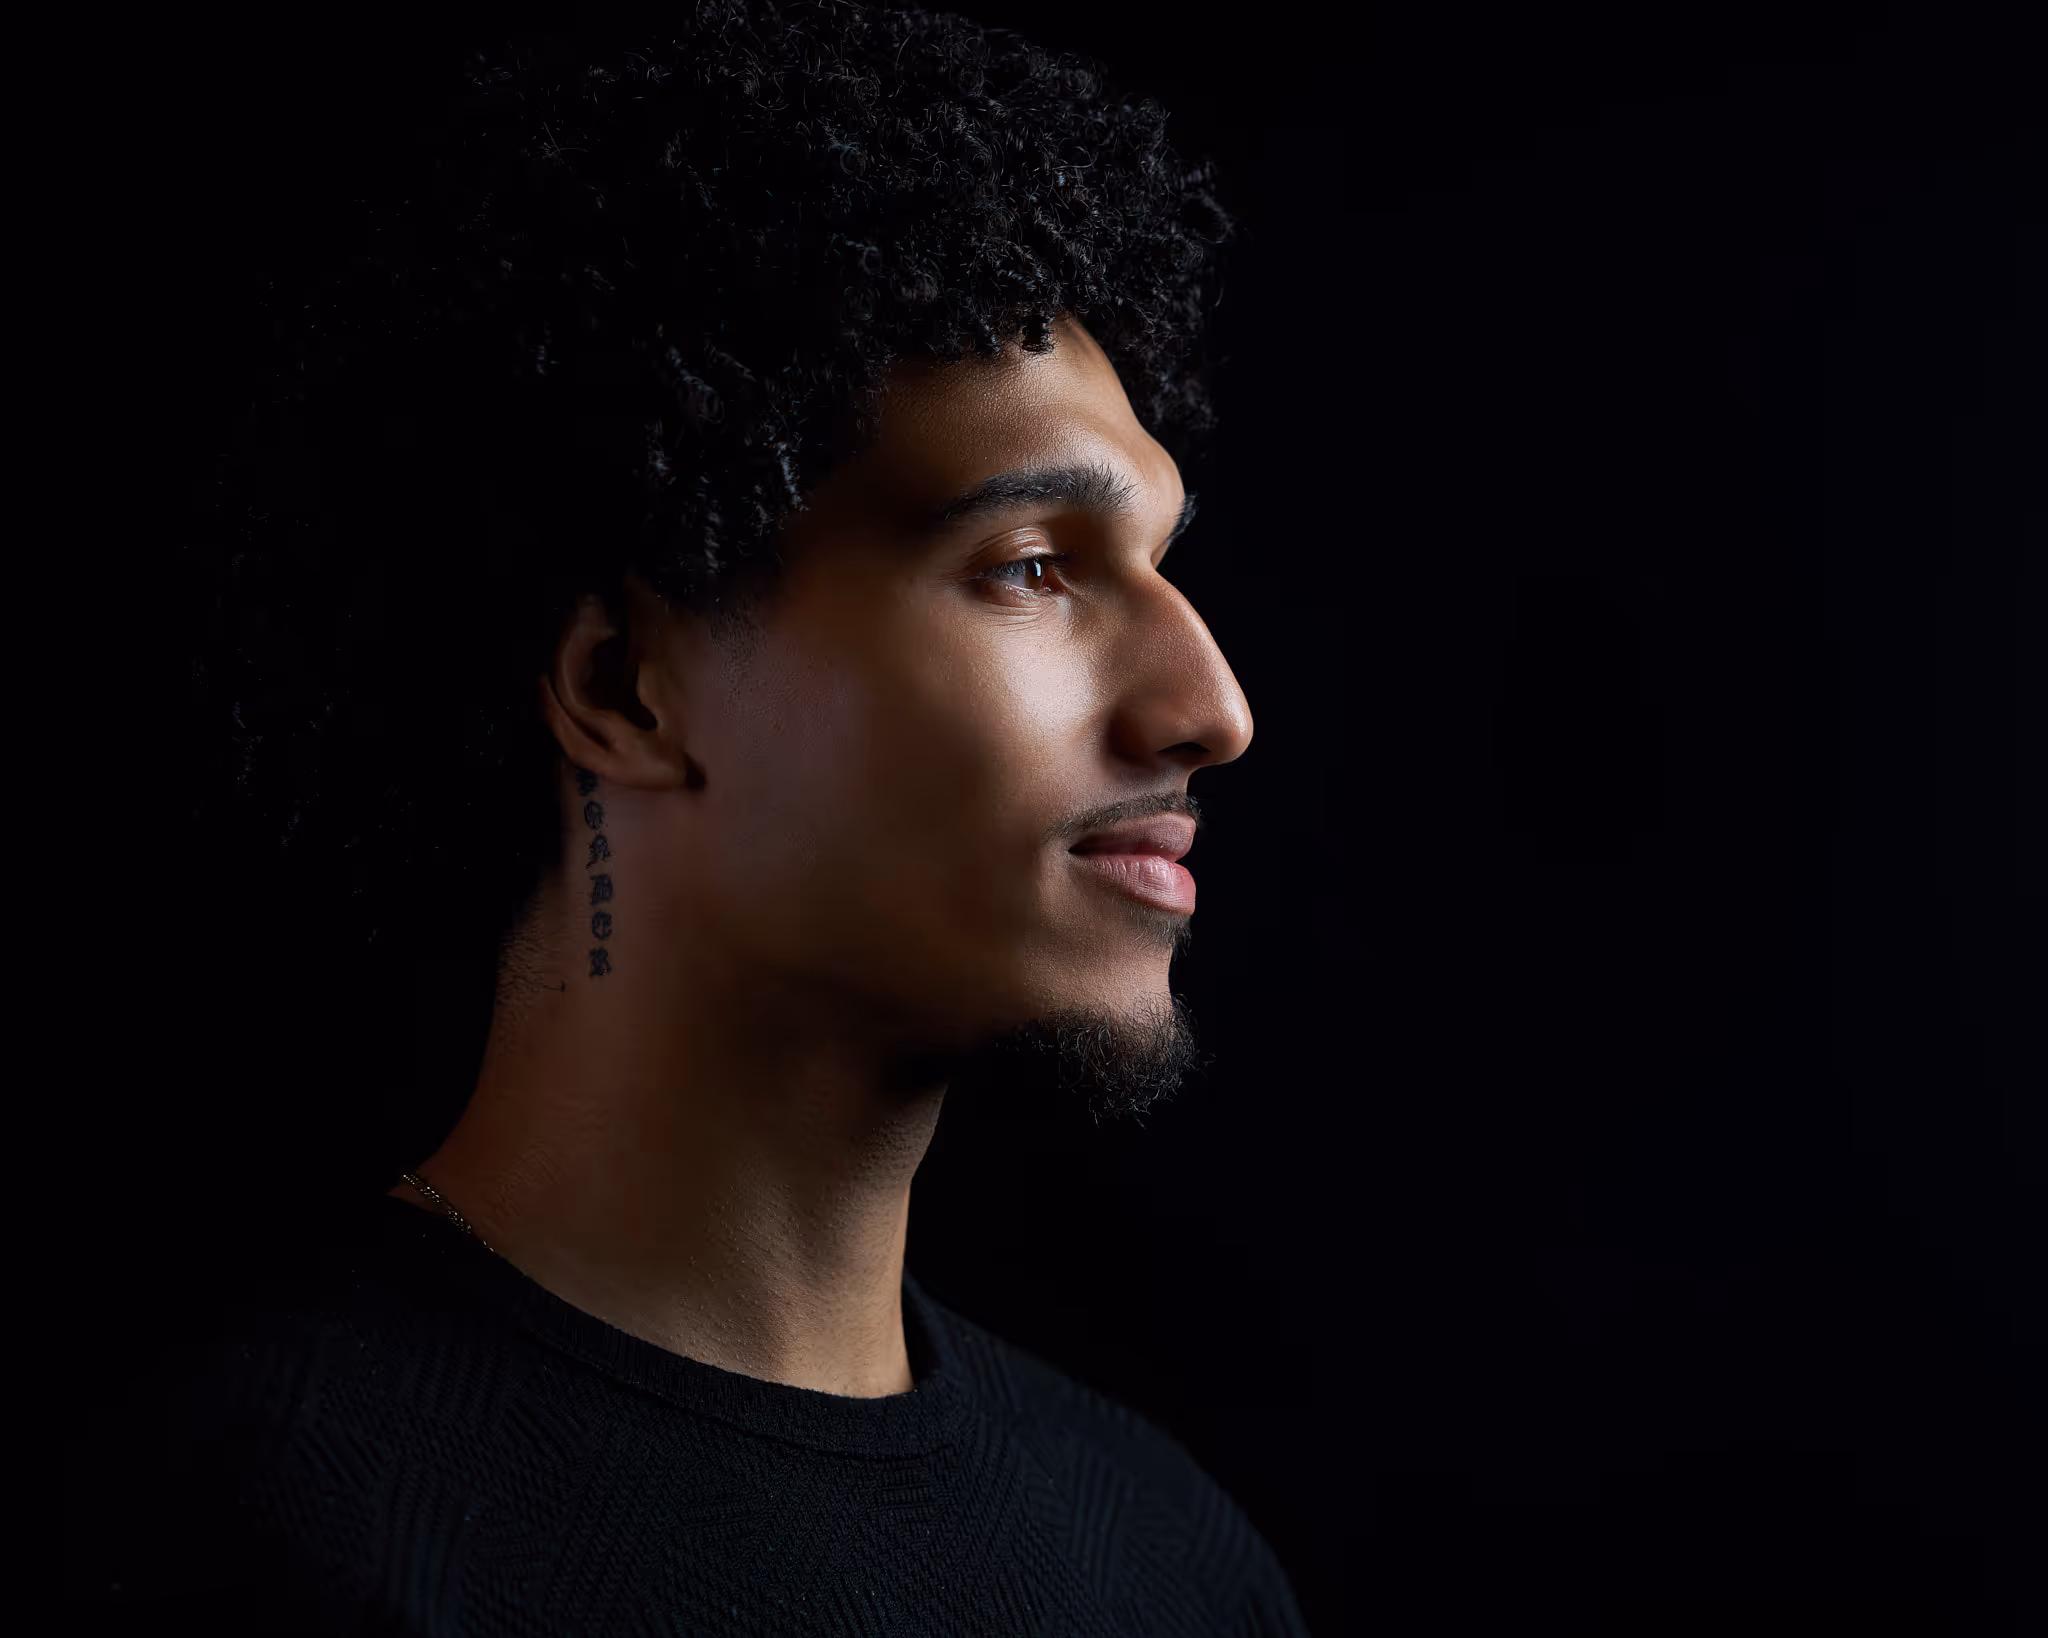
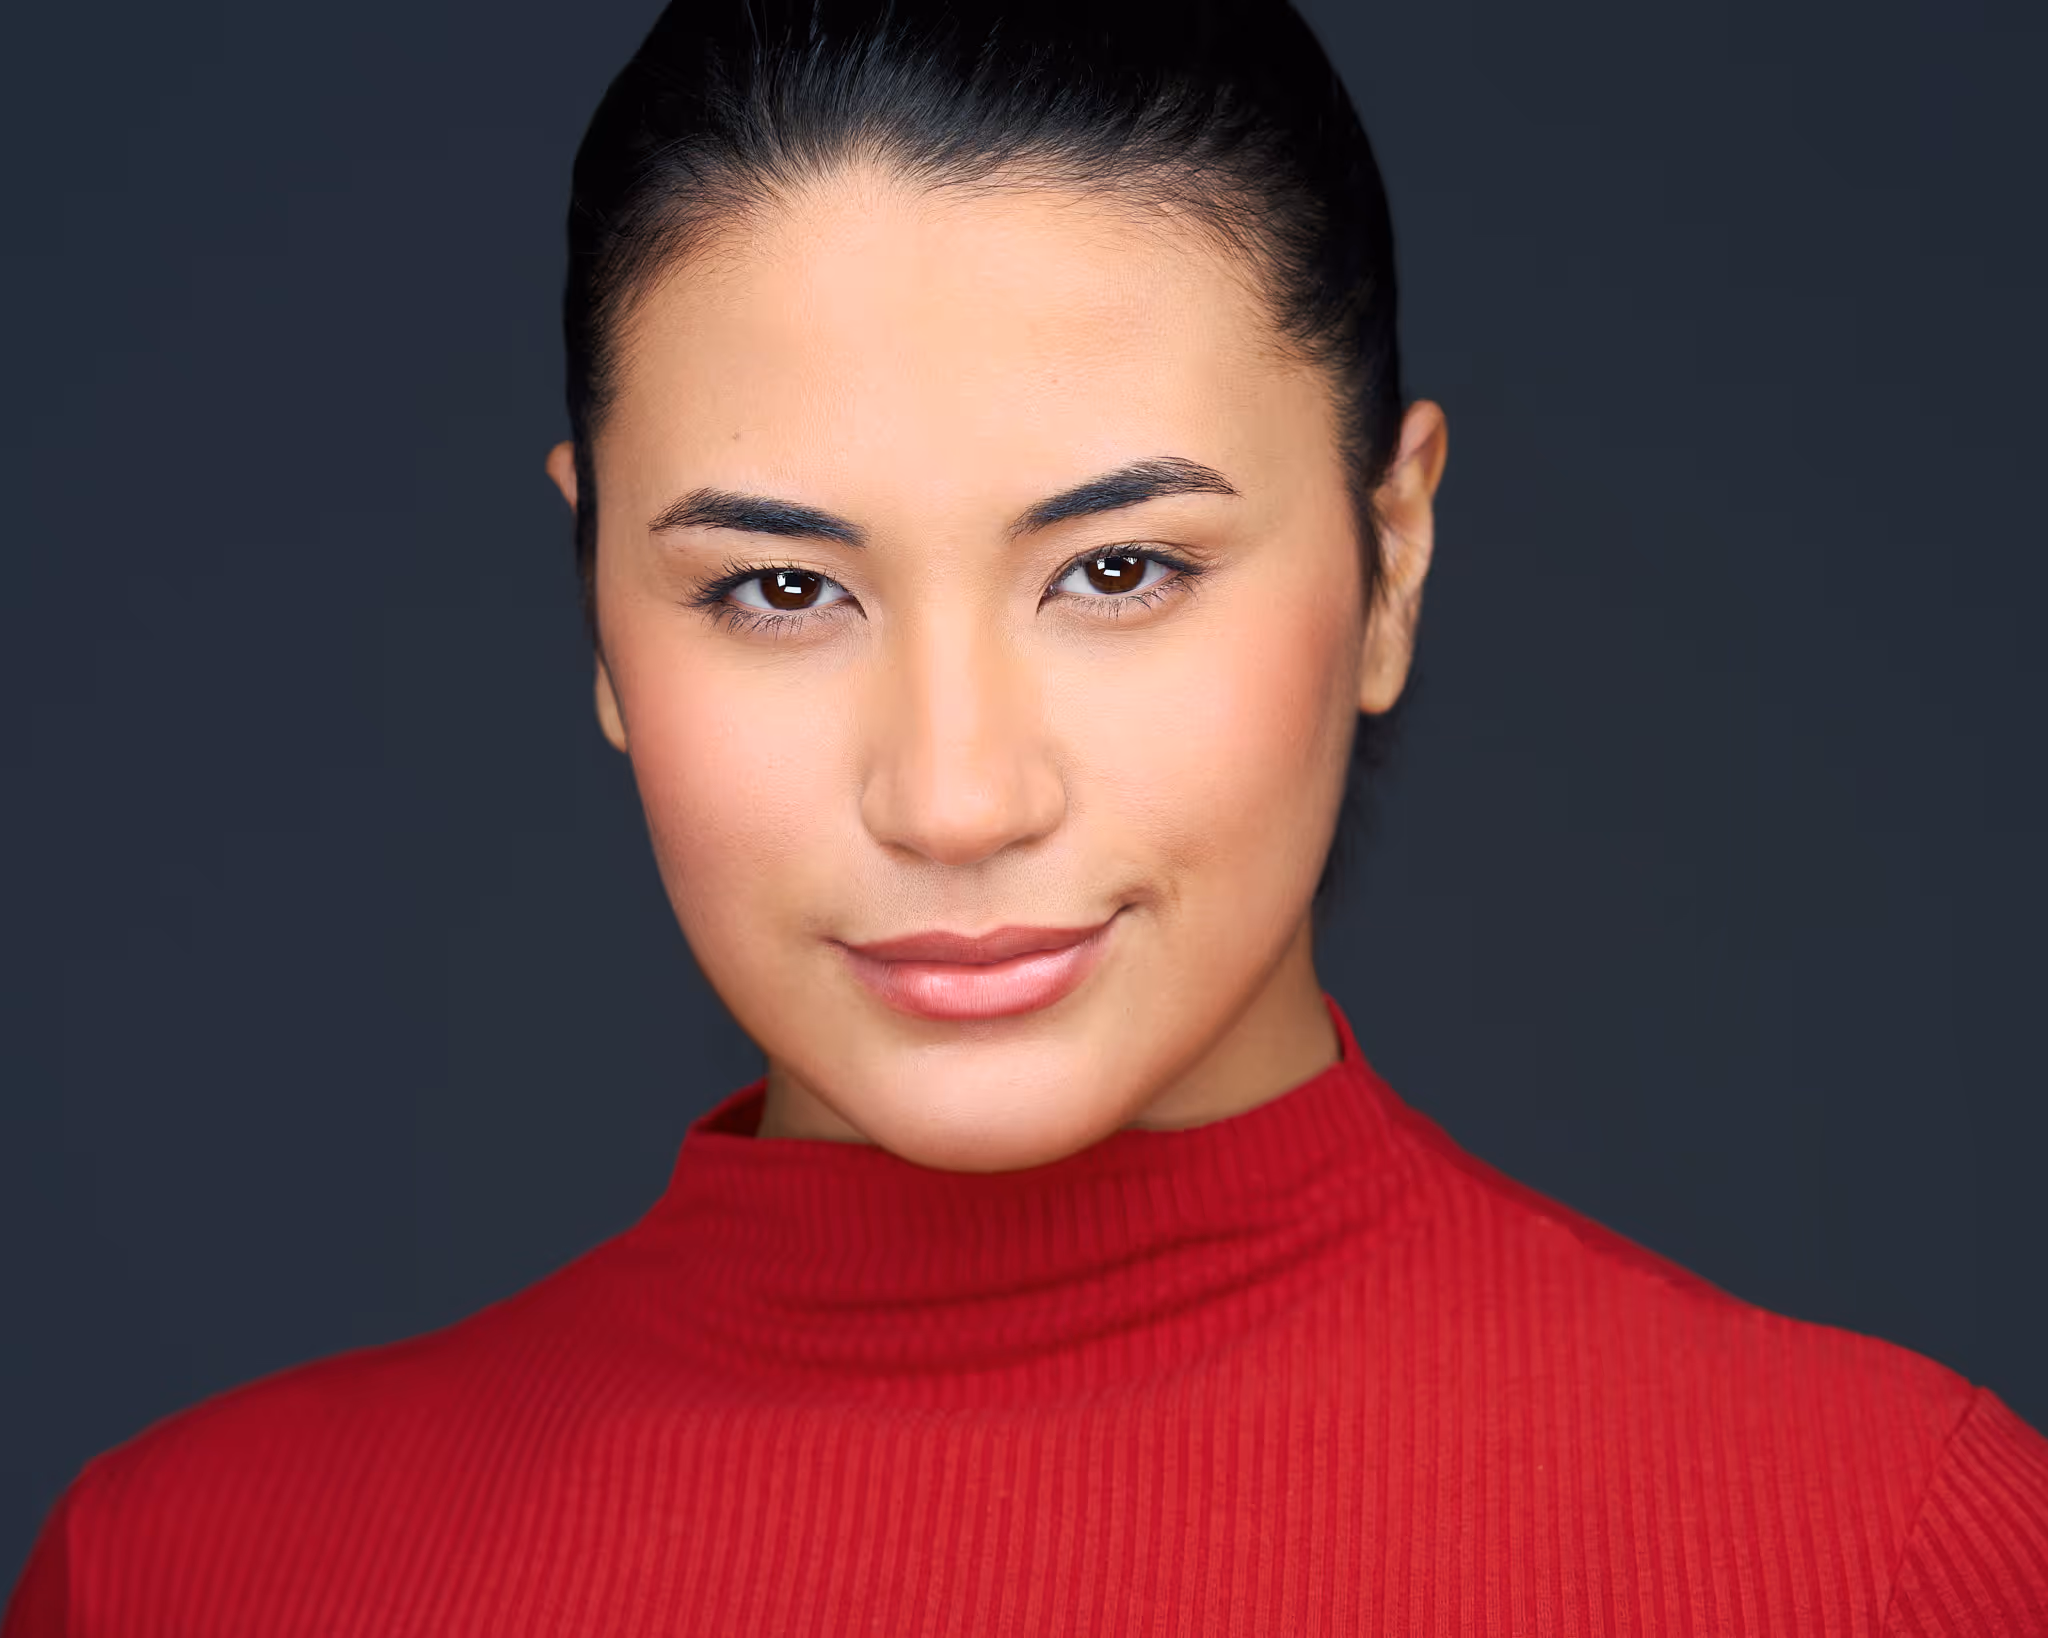
Professional headshots designed to match the level of the work you do. Our Orlando studio specializes in business branding photography for executives, corporate teams, and professionals who want to stand out on LinkedIn and beyond.